


How to Edit and Save HDR Photos
High Dynamic Range makes your photos 'pop'.

In a previous post, I showed how to create a High Dynamic Range (HDR) photo by taking the same subject – with different exposure settings – and using the “Merge to HDR” command to create the HDR photo. In this post, I show how to edit and save such images in Lightroom Classic.
Adobe describes how to edit and export photographs in HDR. I learned a lot from this document and encourage you to read it. Here are the basics as described in the article. Previous versions of Lightroom Classic output for Standard Dynamic Range (SDR) displays. However, HDR photos have higher dynamic range viewed best on HDR displays. According to Adobe, photos optimized for HDR displays “have brighter highlights and more detailed shadows, resulting in an increased sense of realism and greater impact.”
Lightroom Classic already offers features such as Merge to HDR, which I discussed in my previous post. The newest version of Lightroom Classic (Version 13.0.1 and Camera Raw 16.0) introduces HDR output, allowing viewing and editing HDR photos on compatible HDR displays. I am using an Apple Studio Display which support HDR output.
Below is the editing panel from the Adobe document; the caption explains the role of each alphabetic letter.

Enabling HDR Output
We enable HDR display output by selecting Develop > Basics >HDR.
To enable HDR by default, choose Preferences > Presets and select Enable HDR editing by default for HDR photos.
When HDR editing is enabled, we can edit various kinds of images in HDR: DNG (Digital Negatives) created using ‘Merge to HDR in Camera Raw or Lightroom apps and Apple HEIC and JPEG files from iPhone 12 or later.
Also handled are JPEG images exported from Camera Raw or Lightroom apps that were edited with the HDR button On, enabled Enable HDR Display in the Export dialog, and Canon and Sony HDR HEIF files.
Working with HDR Output
When HDR Output is enabled, Lightroom Classic offers additional capabilities, e.g., open and save photos in various file formats, including JPEG, AVIF, and JPEX XL. Lightroom can also open other HDR formats, e.g., 10-bit HEIF files from recent Canon and Sony cameras and the iPhone’s HEIC format.
Saving HDR Photos
Lightroom Classic saves HDR photos. You can also export HDR photos using the following formats: AVIV, JPEG XL, TIFF, PSD, and PGN. The AVIV and JPEG XL formats are best for social media sharing and web applications, while TIFF and PSD are best for additional HDR workflows.
To enable HDR export, use the File > Export > File Settings dialog box and check the HDR dialog box as shown below:

My HDR Editing Experience
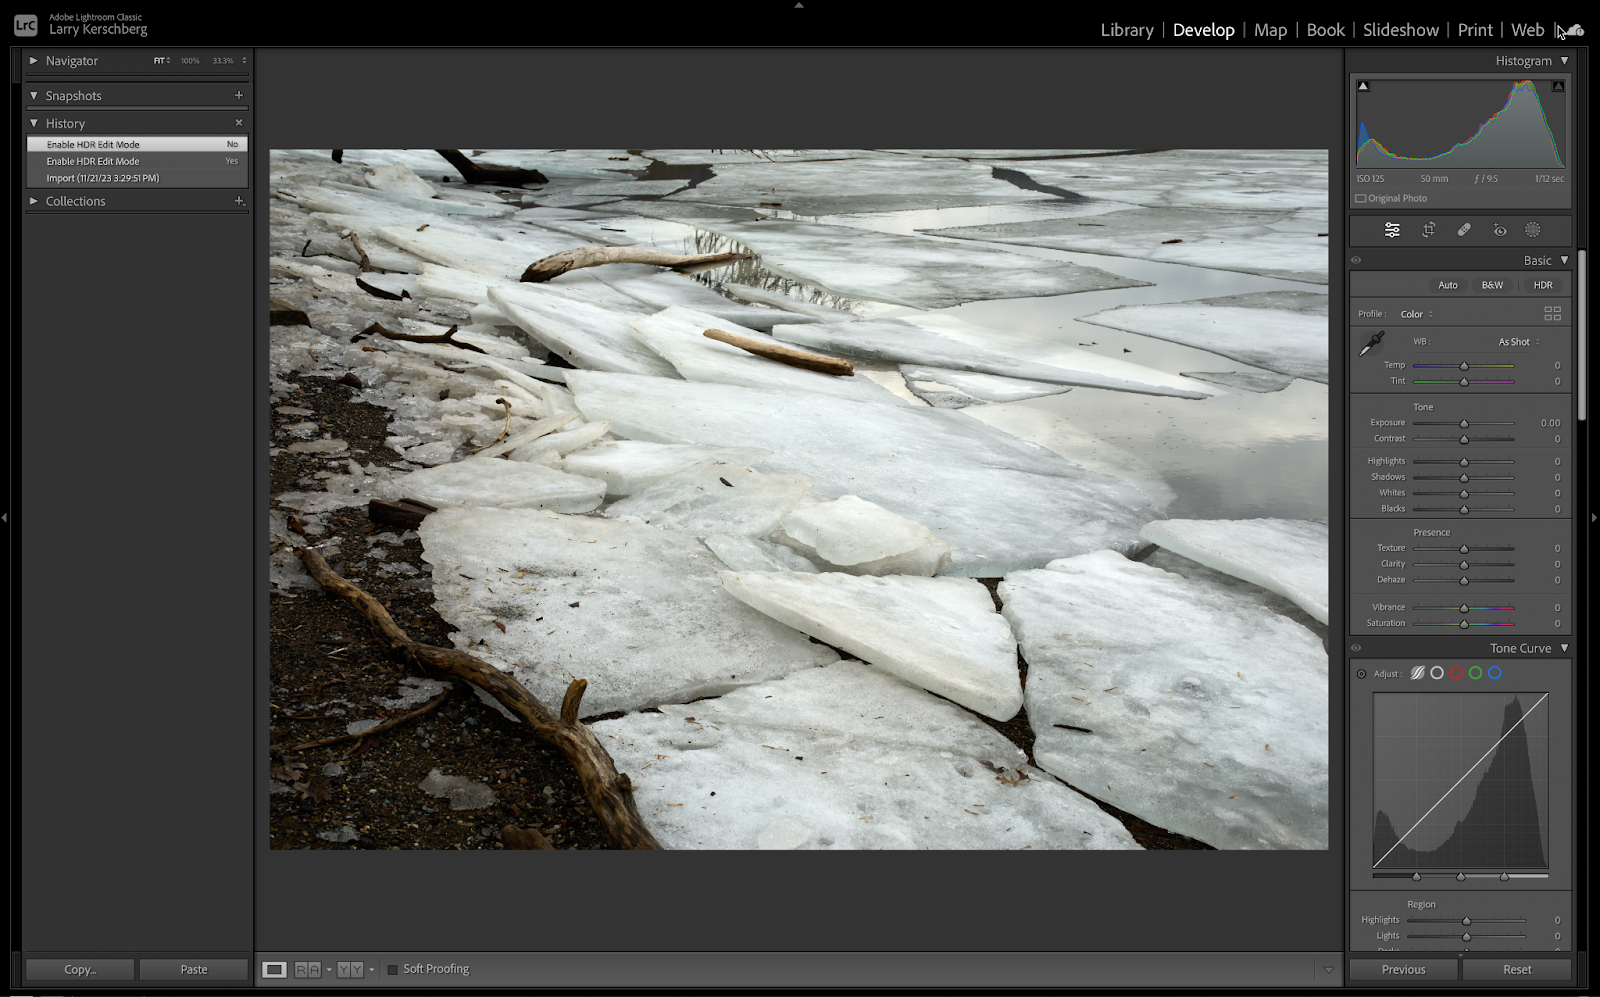
Let’s open an HDR photo in Lightroom Classic. I present a series of screenshots showing the editing process:
Open HDR photo (Photoshop’s PSD format), but HDR Editing is not enabled;
Photo in DEVELOP Panel with HDR Editing Enabled;
Photo with “Visualize HDR” checked; note the extended Histogram;
Photo as it would look on an SDR display;
Photo with final edits in HDR for export to PSD and other formats.


Concluding Remarks
Although there are many steps in the editing process for HDR photos, they are pretty straightforward. There are many options and boxes to check along the way, but the result makes our photos ‘pop’. I learned – along with my readers – the features and capabilities of the newest version of Lightroom Classic. Reading the ‘manual’ helped me understand the power of HDR for import, editing, and output.
Please take a few HDR photographs and edit them in Lightroom Classic. You can share them with me and my readers.